Terminal Devices Management
How to manage your Viva.com terminal devices.
Managing Stores (Sources)
Terminals can be linked to ‘Stores’ (a type of Payment ‘Source’) in order to help organise your terminals across locations. Assigning each terminal to a Store can help you locate and filter transaction information on a per-location basis.
The steps to assign a Store to a terminal can be found below:
Activate a POS Device:
Please see the above section on how to activate a Terminal or ‘Viva.com Terminal’ applicationCreate a Store:
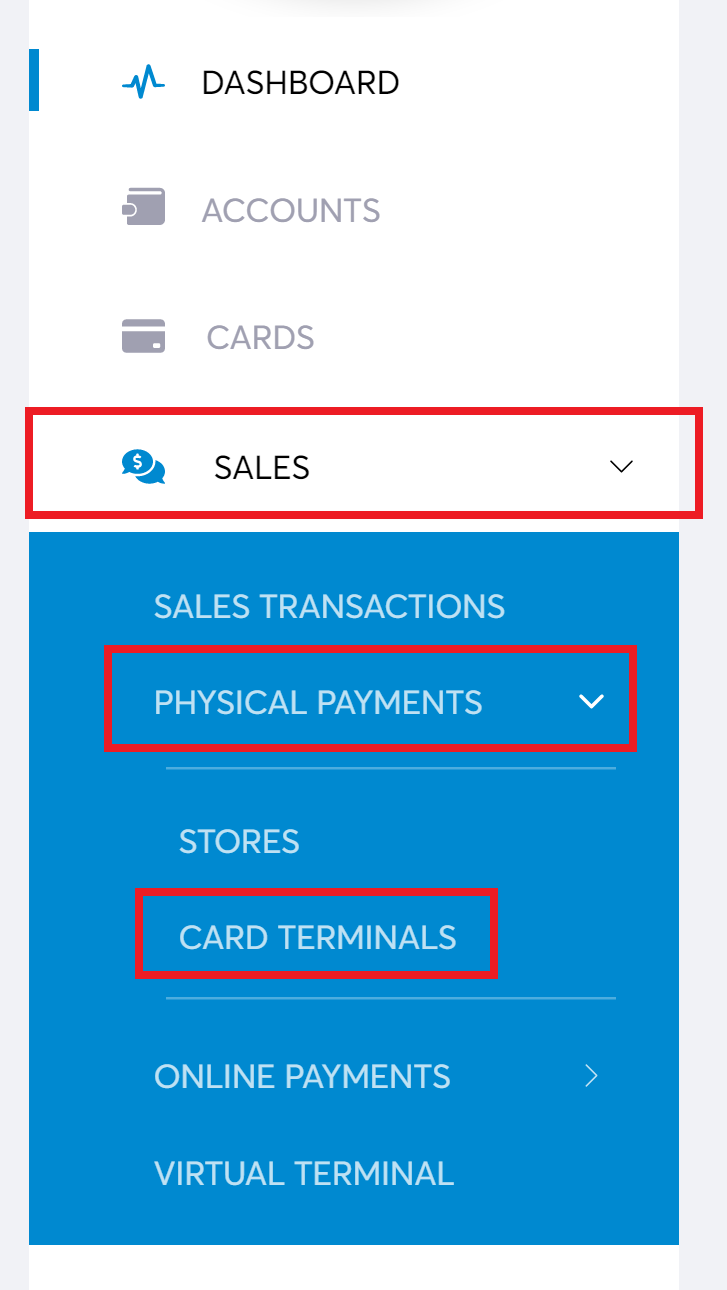
Please see our Source for stores page for instructions on how to create a Store. Please also note that if you have more than one wallet (account), you can choose which wallet the Store is linked toWithin your Viva self-care account, navigate to Sales > Physical Payments > Card Terminals:
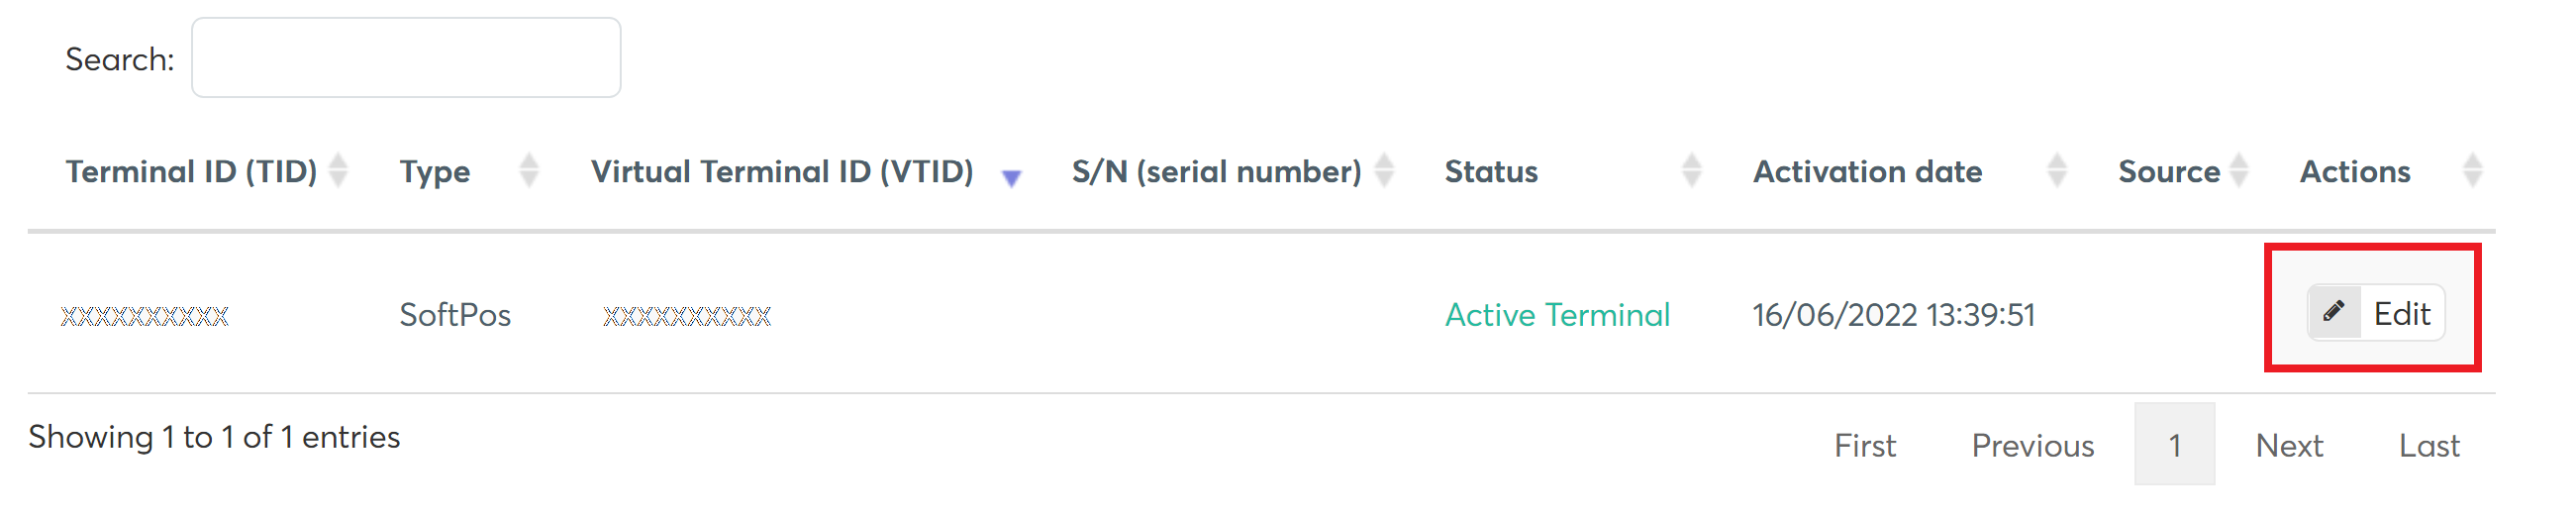
You will see a list of your active terminals. Click on the Edit button for the terminal you wish to amend:
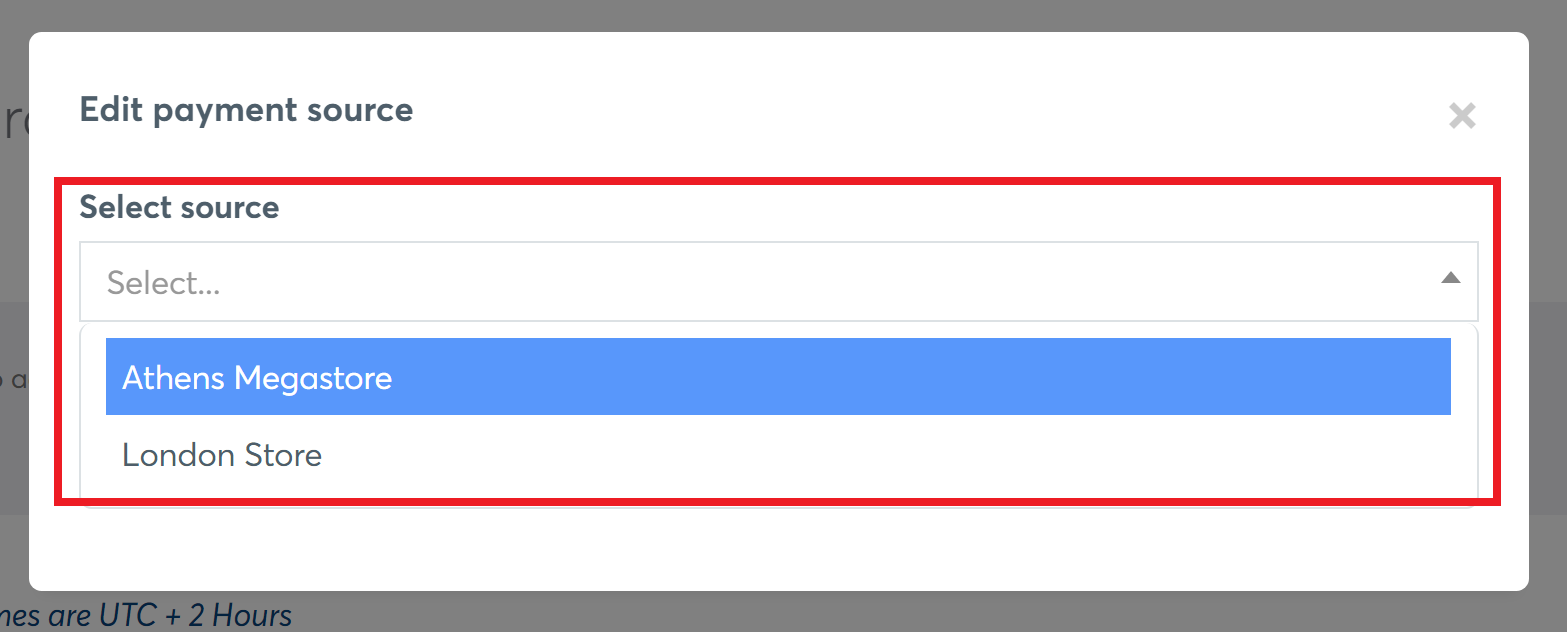
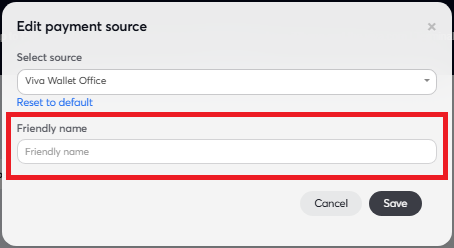
You can then use the Select Source dropdown to choose which Store you wish to assign to this terminal, before saving:
If you want to remove assigned source from Terminal, press Reset to Default:
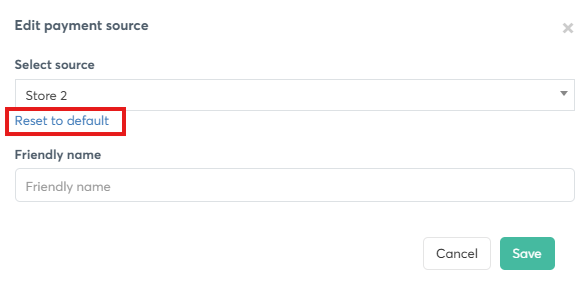
Terminal Friendly Name Description
There is free text description (Friendly Name) on each activated terminal on the Viva self-care account to be able to give your own reference per terminal.
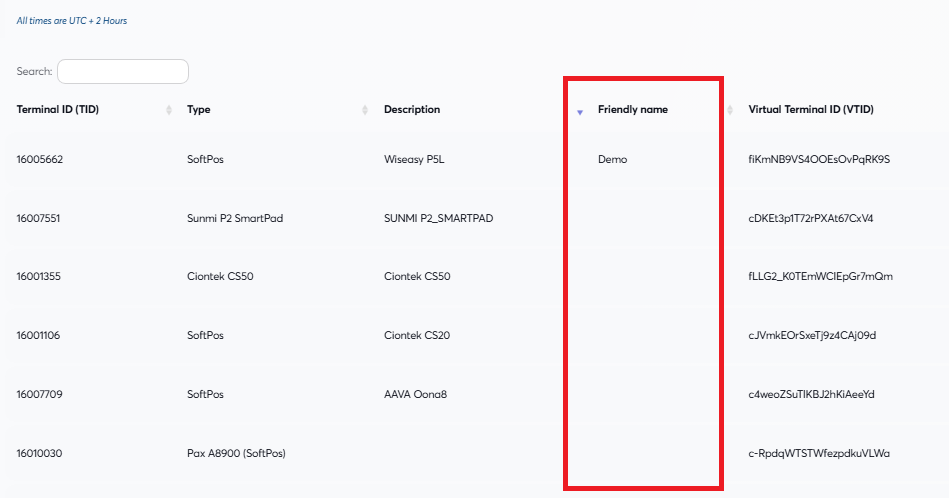
On the edit menu of the Terminal there is a field for Friendly Name. Then this description shows on the Friendly Name column on the terminals list.
Get Support
If you would like to integrate with Viva, or if you have any queries about our products and solutions, please see our Contact & Support page to see how we can help!